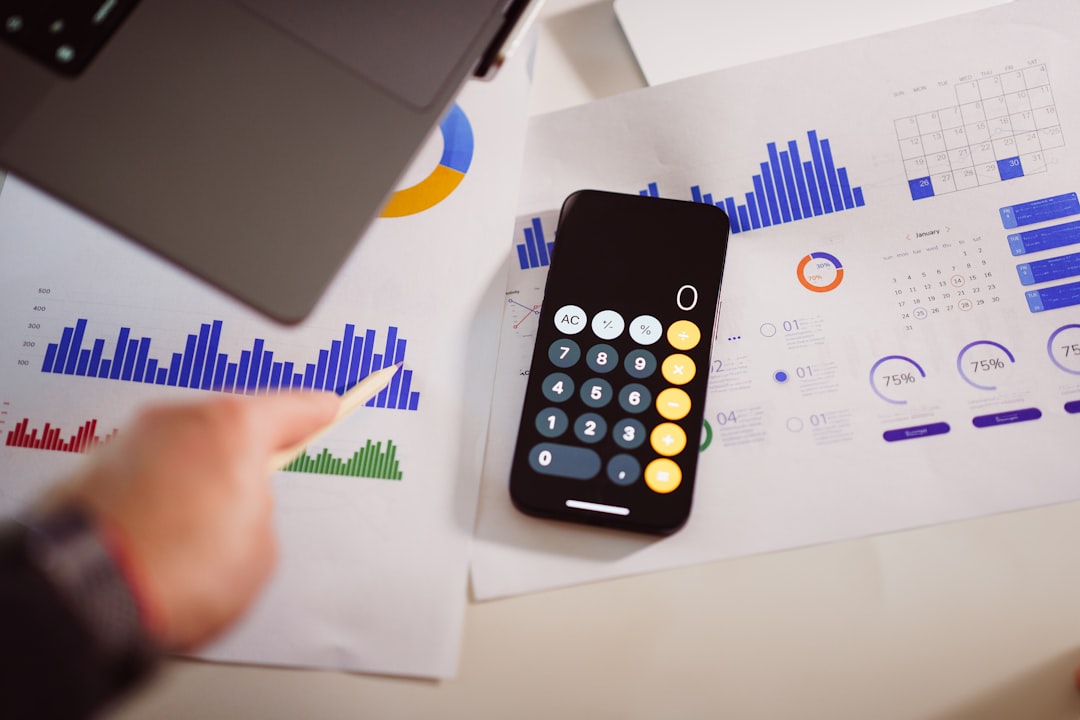
A print resolution calculator helps you match an image’s pixel dimensions to a physical print size before ordering. Use the formulas, reference table, and examples below to estimate whether a file is well suited to a small photo print, a poster, or a gallery-quality enlargement—and to decide when a crop, reshoot, or careful upscaling is needed.
Overview
Print size is determined by two numbers: the dimensions of the image in pixels and the dimensions of the finished print. Resolution describes how densely those pixels are distributed across the paper. For print planning, people commonly refer to this as DPI, although PPI is the more precise term for the pixels in a digital image. Print providers may use DPI when describing output, so both terms appear in everyday photo-printing instructions.
The basic target for detailed photographic work is often 300 pixels per inch (PPI). That is a useful quality benchmark for close-viewed photo prints, portfolios, and many fine art prints, but it is not an absolute pass-or-fail rule. A large poster viewed from farther away can often work at a lower effective resolution. Conversely, a small print with fine detail benefits from a higher-quality source and careful sharpening.
The most important question is not simply, “Is this file 300 DPI?” Metadata can be changed without adding image detail. The useful question is: how many pixels will be printed across each inch? Calculate that value from the actual pixel dimensions and the final print size.
For related display decisions, see our guide to choosing wall art sizes above a sofa, bed, desk, or mantel. A suitable physical size and viewing distance matter just as much as the file’s resolution.
How to estimate
Use this print resolution formula:
Effective PPI = image pixels ÷ printed inches
Calculate the width and height separately. For example, a 6000 × 4000 pixel image printed at 20 × 13.33 inches produces:
- 6000 ÷ 20 = 300 PPI across the width
- 4000 ÷ 13.33 ≈ 300 PPI across the height
To estimate the largest print at a chosen resolution, reverse the formula:
Maximum print dimension in inches = image pixels ÷ target PPI
A 6000-pixel image dimension divided by 300 PPI gives a 20-inch maximum dimension at that target. Dividing the same dimension by 240 PPI gives 25 inches, while dividing it by 150 PPI gives 40 inches. Those lower values may be reasonable for a poster or wall piece viewed from a greater distance, but the final result depends on focus, noise, compression, subject detail, sharpening, and the paper or canvas surface.
For a quick estimate, compare the long and short sides of your file with the final print’s long and short sides. A mismatch in aspect ratio may require cropping. If the print is ordered without accounting for that crop, important content can be cut off or white borders may appear.
Quick reference table
| Print size | Approximate pixels at 300 PPI | Approximate pixels at 240 PPI |
|---|---|---|
| 4 × 6 in | 1200 × 1800 | 960 × 1440 |
| 5 × 7 in | 1500 × 2100 | 1200 × 1680 |
| 8 × 10 in | 2400 × 3000 | 1920 × 2400 |
| 11 × 14 in | 3300 × 4200 | 2640 × 3360 |
| 12 × 18 in | 3600 × 5400 | 2880 × 4320 |
| 18 × 24 in | 5400 × 7200 | 4320 × 5760 |
| 24 × 36 in | 7200 × 10800 | 5760 × 8640 |
These are planning values, not guarantees. A file that meets a pixel threshold can still print poorly if it is out of focus, heavily compressed, or aggressively edited.
Inputs and assumptions
A reliable print-resolution estimate uses more than the pixel count shown in an image editor. Check each of these inputs before preparing a file for photo prints online or poster printing online.
1. Actual pixel dimensions
Use the image’s native width and height in pixels, not the camera’s megapixel label alone. A crop may have removed a substantial portion of the original data. Screenshots and downloaded social-media images may also be much smaller than the original file.
2. Finished print dimensions
Enter the visible image area, especially when a mat or frame will cover part of the edge. If you are ordering a full-bleed print, include the provider’s required bleed only if the file instructions specify it. Do not enlarge the canvas casually; added blank space does not increase photographic detail.
3. Aspect ratio and crop
Compare the source ratio with the print ratio before exporting. Common camera formats do not always match standard poster or frame dimensions. Choose whether to crop, add a border, or select a different print size. A framed poster size guide can help when the final piece must fit a ready-made frame or mat.
4. Viewing distance
Close viewing calls for more detail. A small art print, portfolio page, or reproduction with delicate linework should be evaluated more strictly than a large wall poster seen across a room. For large photo prints, assess the image at its intended display distance rather than judging only from a very close screen view.
5. Image quality and enlargement method
Upscaling can create a file with more pixels, but it cannot reliably restore detail that was never captured. Modest enlargement may be acceptable when the original is sharp and clean. Large enlargement is more uncertain, particularly for faces, text, architectural edges, and fine textures. If possible, inspect a proof or a representative crop before committing to a prominent display piece.
6. Color, sharpening, and file format
Follow the print provider’s instructions for color space, embedded profile, sharpening, and file format. In many workflows, keeping a well-managed RGB file is preferable unless the provider specifically requests CMYK or supplies a conversion profile. Do not convert repeatedly between color spaces. Export a high-quality JPEG or a suitable lossless format according to the lab’s requirements, and retain an untouched master file.
Paper and surface also influence perceived sharpness and contrast. Glossy and luster surfaces may show fine detail differently from matte fine art paper or canvas. For archival projects, review the choices covered in our archival photo prints guide.
Worked examples
Example 1: A phone photograph for an 8 × 10 print
Suppose the cropped file is 2400 × 3000 pixels and the intended print is 8 × 10 inches. The calculation is 2400 ÷ 8 = 300 and 3000 ÷ 10 = 300. The file matches the 300 PPI planning target exactly, provided the crop has not introduced quality problems. Review the image at 100% for blur, noise, and compression before ordering.
Example 2: A 24-megapixel camera file for a 12 × 18 print
A 6000 × 4000 pixel file does not match a 12 × 18 ratio without cropping. If cropped to 12 × 18, the effective resolution is approximately 333 PPI on the long side and 333 PPI on the short side when the crop preserves a 2:3 ratio. This is a strong starting point for a detailed photo print, although composition may determine whether the crop is acceptable.
Example 3: A 4000 × 3000 file for a 24 × 36 poster
A 24 × 36 poster has a 2:3 ratio, while the source is 4:3, so cropping is required. Even after choosing the crop, the effective resolution is approximately 167 PPI on the 24-inch side and 167 PPI on the 36-inch side if the file is fitted proportionally. That may be workable for a poster viewed at a distance, but it is less suitable for close inspection or highly detailed fine art reproduction. Consider a smaller print, a higher-resolution original, or a carefully evaluated enlargement.
For artists reproducing paintings or drawings, resolution is only one part of the workflow. Lighting, lens choice, color accuracy, proofing, and paper selection all affect the result; use the art print reproduction checklist before placing a production order.
When to recalculate
Recalculate whenever any of the three core inputs changes: the pixel dimensions, the crop, or the finished print size. A new crop can reduce the available resolution even when the original file has not changed. A frame, mat, or border can also change the visible image area.
Recheck the estimate when moving from a proof to a poster, from a poster to a gallery-sized print, or from paper to canvas. Revisit it after downloading a different source file, exporting from an editing application, or accepting a platform-generated image. If your print lab changes its file specifications, color-profile guidance, or enlargement options, use the new instructions rather than relying on an old preset.
Before ordering, follow this short checklist:
- Record the file’s actual pixel width and height.
- Choose the finished visible print dimensions.
- Calculate width and height in pixels divided by printed inches.
- Check the aspect ratio and preview the crop.
- Inspect focus, noise, compression, and important edges at 100%.
- Confirm color-space, file-format, bleed, and sharpening requirements.
- Order a proof or smaller test when the print is large, valuable, or intended for exhibition.
Use the calculator again when the project moves from planning to production. That small check can prevent an avoidable crop, an unsuitable enlargement, or a file that looks acceptable on a phone but lacks the detail needed for gallery-quality output. For decisions involving portfolios and exhibitions, compare this resolution review with our guide to professional prints for photographers.